Monday, May 28, 2012

How to Create The Mad Hatter

This Mad Hatter here is very inspired by Tim Burton's version of Alice in Wonderland. What can I say, since as a 6-year-old I saw Cry Baby for the first time, I always fall in love with Johnny Depp's characters. The makeup itself isn't very complicated, just a lovely play with the colors and bone structure, but if you decide to prepare the eyebrows from the scratch, it will take.. a bit longer. The side effects, besides the bloody tired eyes, is the shoulder pain, cramps in the fingers, total loss of your nerves, ugly language use and a bunch of new grey hair in your head. But let's face it, how cool it is to prepare the face hair or wigs on your own, using the real hair?


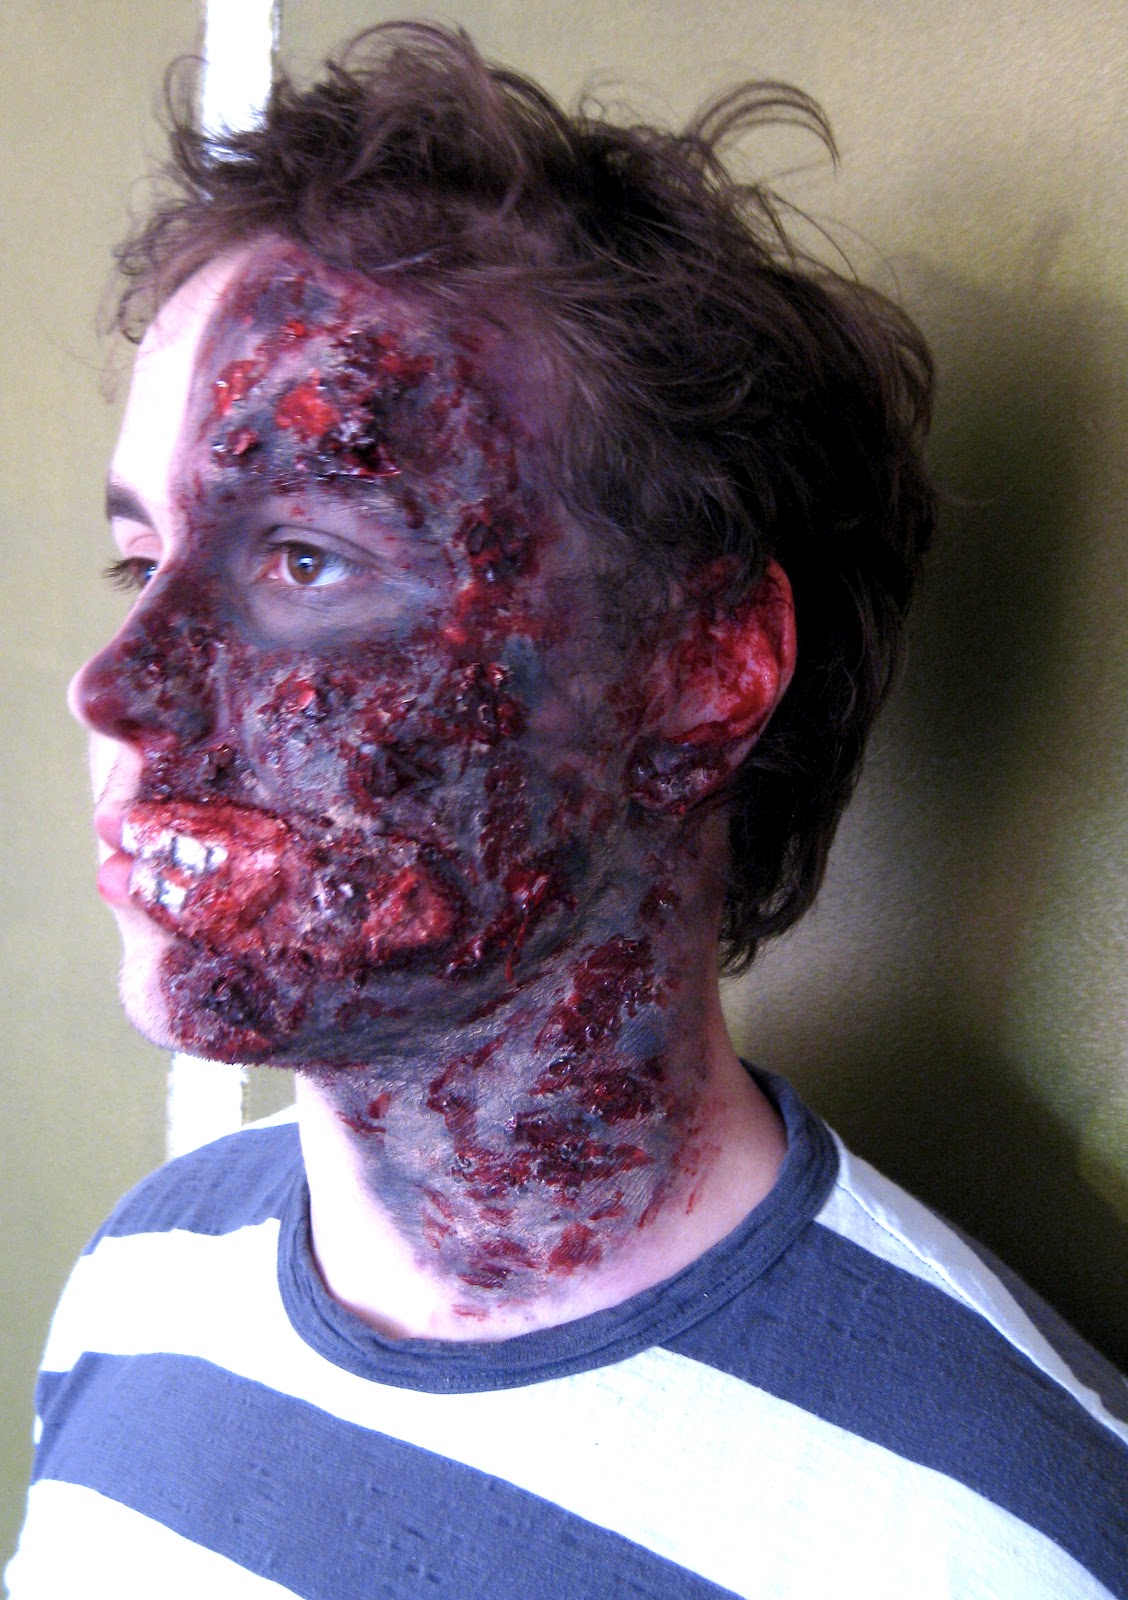
Picture to help creating the bone structure


But let's begin with the makeup. 

I usually like to begin the makeup from the eyes, therefore all the escaped eyeshadows on the cheeks don't ruin the rest of your makeup. Just swipe them off with a gentle makeup cleansing wipe after you are done with the eyes.


Picture to help show the eye -and the lip makeup


Prepare the eyes, also the lower eyelid, with the eye primer and powder lightly, but evenly (I like to use Makeup Store's reflex cover). Next tap and spread the light blue eyeshadow with a glow ( e.g., Make Up Store's Wave) on the eyelids, until the upper crease in the eyelid. Then take a glowing light green eyeshadow (e.g., Make Up Store Eclipse) and spread it from the blue eyeshadow just until the eyebrows. A real fur brush is perfect for powdery products.

Next, color the lower eyelids with a fuchsia eyeshadow or a blush (e.g., Make Up Store's Frozen Daiquiri blush). Create some shape in the eye by increasing the width of the color to the corner of the eyes. Continue the delicious fuchsia towards the eyebrows. By swirling the round shaped real-fur brush on the eyeshadows, you blend the colors well together and it makes the edges of the colors softer.

Curl the eyelashes and add thickly a white mascara. Color the inside lids with a cold red lip pencil (e.g., Make Up Store's Russian)


Wipe the possible spread eyeshadows and color the face with a white supra color using a makeup sponge. Don't make the base too thick, but make sure it covers enough. If the supra color feels too thick, mix it with a drop of transparent makeup base serum. Tap the color also on the lips. Powder with transparent powder.

Create some strong structure to the face with a light purple eyeshadow or a blush. Lovely color, isn't it? Reminds me of a My Little Pony's vomit.
Shade the edges of bridge of the nose just until the nostrils. Fade the color well towards the ears.
Also shade the inside corner's of the eyes and fade the color towards the eyelids. Connect the color with the shading of the nose.
Next create some sharp cheek bones. Follow with the line of a cheek bone from the ear to the point where the cheek bone ends (fade the color upwards) and pull the color downwards. (fade the color towards the ears) This helps to create some manly shape to the face!
Next to the shades, there is always the highlight. Swirl some glowing white highlight color on top of the cheek bones, on the chin, in the middle of the forehead and on top of the nose.

Speaking if the manly things, line the lips with a cold pink lip pencil. (You can use the same as in the inside eyelids) Shape the lips less feminine by hiding and filling the cupids bow, you can also line the lips a slight smaller, depending on your models mouth. Color the mouth with a cold pink lipstick.

How about that cute little gab between the front teeth? For example, there is Grimas 's black Tooth Enamel.
Roll your upper lip up and look like a squirrel. Dry your front teeth with a paper. Swipe the brush between the teeth. (The brush is the same kind as in nail polish bottles.) Be careful with the gums! The best part? The best way to remove the color is with alcohol. I'm sure my The Hatter model remembers the 80% alcohol that I used to remove the gab.

Voilà! And finally..

How to Prepare the Eyebrows:


You will need:
- Lace (like ballerinas use in their tutus)
- Special wig sewing needle
- Real hair (but please don't cut it from your friend's head.)
- Polystyrene head
- Pins
- Good light!

Start by drawing on a strong paper the shape of the eyebrows. Cut it off. (really.) Make sure they are a perfect size and shaped by fitting the paper model on your model's face.

Attach the paper on the polystyrene head with a glue or pins. Cut a small size of the lace and attach it well and firmly, slightly stretching, with the pins. Attach it in a way, that it stretches crossways.

Take a small part of your real hair and moist it with a spray bottle. The hair is curly so you can brush it a bit straighter.


How to Make a Knot:

I prefer to sew placing the polystyrene head between my legs (because I am a pervert) and throw my legs on a high table or chair. Trust me, the comfortable position is important in this business. Also the sips of whiskey helps.

Start from the inside corner of the eyebrow and progress from up to down, so that the ready knots will no be on the way. Always pull the knot to the direction where you want the hair to be heading to.

Notice: The paper under the tulle is just there to show the formwork of the eyebrows. No need to stick the needle through the paper too.

Also notice, there is no need to stick the needle through every single lace hole. The result would be quite furry.

So. Form a ring for a small part of the moist hair and hold it firmly between your thumb and index finger. Keep 1-3 hair in front, ready to be catch. Slip the needle through the one hole of the tulle. Take those 1-3 hair on the needle, pull them through the lace. Pull the hairs just a bit upwards so that you can with the same motion grab the rest of the 1-3 pieces of the hair through the loop. Pull the knot upwards, so to the direction you want the hair be heading to. Pull the knot tight, but don't break the hair .

The knot should look pretty and small, not like a tangle. Make sure that the knots on the lower edge of the eyebrows are in straight line.

And always think the direction you want the hair to stick out.

Ready, all the hair has been knitted? Awesome.


Cut the eyebrows for the suitable length.


Now you can color the hair the way you want to. My Hatter has orange eyebrows, that I colored with orange aqua color (e.g., from Kryolan). Originally my hair was grey. Dying with aqua color has one down side, the color falls out easily and with that can ruin your makeup! Try to use enough color during the first time of the coloring and let it dry well. But because we are talking about the real hair, you can of course use for example spray colors.

Last step. Cut the lace smaller, just next to the hair line, two-three rows of the lace holes sounds good security to me.

Placing the eyebrows depends how your model's own eyebrows are. If they are thin and light colored, just brush them upwards and tap and spread the skin glue/Mastix/Spirit Gum (e.g., from Kryolan) on them.
If your model has strong eyebrows, check here how to make them less appearing.

Press the sewed eyebrows on the glue and be specially exact with the edges, that no lace sticks to the air.

Use some hair wax and hairspray to style the eyebrows.

Now go to some oldish charismatic man with an awesome hat and start a conversation with him just to wait for a perfect moment to steal his awesome hat for your Mad Hatter. (NEVER done it myself, never.)


Wednesday, May 23, 2012

The Mad Hatter


"Why is raven like a writing desk?"


This loved character is familiar from Lewis Carrol's "Alice's Adventures in Wonderland" and "Through the Looking-Glass" -books, made even more famous by the Disney and Tim Burton's movie. Originally Lewis Carrol named "The Mad Hatter" just as a "Hatter." But hey,  he and his friend The March Hare are maaaad. And there is actually an explanation for that!

The Hatter is always on a never-ending mad tea-party, or in a Disney version an "un-birthday party", which is by the way an excellent idea, because you have only one birthday in a year, but 364 un-birthday days.. Oh the amount of the champagne! Or in this case, the amount of tea. (Luckily tea is very good with a rum.)

Anyways, the reason why The Hatter and The March Hare are always sipping tea is an interesting story. One day The Hatter wanted to sing for the evil Queen of Hearts. The Hatter loves singing. Unfortunately The Queen of Hearts wasn't so pleased of his talent and claimed him for murdering the time. Obviously The Hatter was sentenced to death, off with his head!! Luckily The Hatter succeed to escape the blade. Because of this ,The Time himself halted himself for the respect for The Hatter. The Hatter and The March Hare we're always about to live in 6pm, in a tea-time. The mad tea-parties are full of riddles, changing places in a table and questions with no answers, which was a bit nerve-racking to Alice.

Later, in "Through the Looking-Glass" The Hatter (named as a "Hatta") has become a messenger for the White King, he was against the evil Queen of the Hearts.


So why is The Hatter acting a little bit weird? Besides of drinking all that tea? Before all the hat makers were a bit like The Hatter. The hats were made by using some mercury for curing the felt and the poor hat makers couldn't help breathing the poisonous fumes. This caused them neurological damage, also confused speech and distorted vision. 
Although, the symptoms also are increasing shyness, loss of self-confidence and a will to remain un-noticed. This certainly isn't within The Hatter's behavior, so I blame the tea. Maybe he also liked the tea with a rum.  
Johnny Depp, who played The Hatter in Tim Burton's version of Alice in Wonderland, seems to believe The Hatter being a victim of a mercury poisoning. According to Johnny Depp, the reason for The Hatter's orange hair and pinkish eyes is the huge amount of poison coming out of his body.


Inspired to the story full of imagination by Lewis Carrol? Want to learn how to prepare some eyebrows on your own? Here you go.


Saturday, May 19, 2012

Corpse Bride

Name: Emily a.k.a The Corpse Bride
Location: The Land of Living


This lovely and fresh creature is inspired by Tim Burton's animation film Corpse Bride.


Our beautiful Corpse Bride Emily lived in a little village on Victorian era. One day she claimed her big eyes on a handsome Lord with a strong jaw and they fell in love. They wanted to get married, but unfortunately Emily's parents didn't accept their intentions and they had only one choice, to escape together. 
Emily was waiting for her Lord in the forest with a generous dowry. Finally he came. Though The Lord was never hungry for her love, just her dowry. Poor Emily was soon murdered by the man she loved.


And that is how Emily became The Corpse Bride.


Emily moved from the Earth to the Land of the Living. That is a place, where all the death people with unfinished issues go before finding their peace. That is why every day, every night she was waiting for someone who would want to marry her for love. 


To learn how to create Corpse Bride inspired makeup, click here.


How to Create The Corpse Bride


On this makeup you will learn how to attach the ready-made-wound pieces and how to hide the eyebrows!


This makeup is lovely to do, because it's both, beauty and theatre makeup. And because you couldn't describe Emily as fresh and healthy looking role model, it doesn't matter if your model is dead tired and dying because of a hangover!


Let's start with hiding your models eyebrows. Brush the eyebrows upwards with an eyebrow brush. Then attach them in this position with a skin glue.

Take a yellow shaded concealer, meant for hiding red spots on a face, and tap the color on top of the up-pointing eyebrows.


The skin. Take a very, very pale foundation and mix it with a strong, cold shaded, highlight cream. 
Spread it to the whole skin. Hide the possible spots and red areas with a yellow shade concealer and smooth the yellowish color again with a foundation+highlight mix. (if you continue working with the powdery products, you can powder the whole face now lighlty with a transparent powder. If you use even the lightest powder that is still not transparent, don't do it. The result will be yellow. :O)

Now let's create those big, beautiful sad eyes! Prepare the eyelids for the eye shadow with an eye primer, also the lower eye lid. Powder it lightly, but evenly.
Spread the glowing light blue eyeshadow on the whole eyelid area with a brush made of real fur. Don't stop until the eyebrows, also cover them with the light blue eyeshadow. That is your makeup model's new eye socket.
Next take a darker blue eye shadow and create some volum in the eyes by adding the color on the outside corners of the eyes. Imagine the eye lid area being a lot bigger than you normally have. So add the dark blue eyeshadow from the eye lashes until on top of the hidden eyebrows (just the out corner of the eyelid.) Fade the color with a real fur brush (the round shaped eye shadow brush is really good for fading the colors) towards the center of the eye.
Next we create that horror character look to the eyes by adding the dark blue eyeshadow on the inside corner of the eyes, right next to nose until the hidden eyebrows. Fade the color with a real fur brush towards the center of the eye.

Emily is a little bit tired of not needing to sleep as  dead person, so she needs eye bags. Follow the line that you started next to the nose downwards, using a smaller real fur eyeshadow/eyeliner brush and a dark blue eyeshadow. Kind of circling the eyes with the eyeshadow. Blend the color upwards. See, this is more easier if your model already has eye bags on her own.


So now we should have lighter, glowing blue eyeshadow in the middle of the eye and darker blue areas  around the eye, right? This effect makes the eyes to pop out, rounder and bigger.
Next add the lighter blue eye shadow to the lower eyelid, following the eyelashes, but leave a little gap between the eyelashes and the blue color. Fill this gap with a white eyeshadow to make the eyes bigger. Add some darker blue shadow in the center of the lower eyelid to make the eyes more round.
Fill the inside eye lid with a white kajal (not with a glittery one, they are not meant to inside lids!)
Finish the eyes with curling the eyelashes with a Shu Uemura eyelash curler (buy them. Seriously.) on three parts of the eyelashes. Add a lot of black mascara, don't forget the lower eyelashes. 


Let's create very strong structure to the face. We want our Emily to have high cheek bones, so let's enchant them with a cold shaded, light brown eyeshadow. Use a big, real fur brush and start swiping the eyeshadow starting next to the ear and following the cheek bone. Don't spread the color further, than you model's eye irises are. Start the spreading gently, it's always easier to add color, than make it lighter. Fade the color upwards.
Next to shadow, you always need a highlight. So take a cold shaded, glowing highlight product and swirl it on top of the highest point of your model's cheekbones. 


Next we make her look a bit more dead, a little moldy. Take your ready-made wound, put it on the skin and powder the limits of the piece gently. Now take the ready-made piece away and fill the are with a face glue. Don't cross the powder area!

Now press the ready-made piece gently on top of the glue. And remove. Why? This makes the glue stronger and the piece attaches better. Now on the third time you can finally press the piece to the skin. For good

Take just a tiny bit of skin wax with your spatula and put it on the edges of the ready-made-wound. Now you can smooth the edges of the piece and the skin with the skin wax.

Add one light layer of latex on top of the piece. Let it dry. Now depending how your wound looks like, you need to make it gross. In this case, Emily has started to mold from the face. Color the piece with a light blue supra color and smooth it well to the skin.

If your wound is not nasty looking enough, add some little pieces of cosmetic paper with a skin glue and color it with a greyish green eyeshadow or supra colors. Add some dark blue and black color in the roots of the cosmetic papers. 


Now take a dark brown, cold shaded kajal pen, eyebrow pencil or eyeliner, which ever you prefer and draw the new eyebrows. If you want your Emily to look more doll-like, draw them more round, like I did. If you prefer more devilish look, make them more straight and give them a little lift upwards in the beginning of the eyebrows. (Think of a face of wrinkling your forehead because of a devilish idea and at the same time lifting your eyebrows with an an astonishment.) 


And the last part, the lips. Draw the lines of the lips with a pink lip pencil. Start from the middle of the upper lip and go to towards the edges. Blend the color by coloring with the pencil almost the whole lip. Leave the center part of the lips pencil-free. Now take some a bit lighter pink lipstick and color your lips.

Now put some wedding dress on, knock on your new boyfriends door, wait until he opens and scream:
"I Dooooo!"


Monday, May 7, 2012

Two Face


Name: Evan From Heaven
Age: 19 
Possible location for finding: The world's best burger restaurant, Geneva
Marital status: Yes boys, he is single.


Let me introduce to you my lovely friend Evan From Heaven. He seems to look all fresh, energized, happy and not afraid of life ( but he should be).  


Because this is what happened to him two hours after. 

This is what I would call a skin problem.


You see, our Evan From Heaven works in Switzerland's best burger bar, where the pace is fast and burgers fly to customers' tables.  

And the burgers, they are so delicious and les frites à l'ancienne - so tasty! Anyone who once enters this restaurant will always come back. 

It was a day like any other during the busy lunch hour in the kitchen. Evan From Heaven was packing the burgers and screaming out the order numbers."SERVICE!" screamed Evan. Where is the waitress, who is suppose to carry the menus for the customers? The waiter was on the other side of the restaurant, carrying seven menus at once, looking for the waiting customers. No can do. He would have to carry the menus for the customers himself. Evan left his position and took four baskets, filled with inviting smelling fries and burgers with blue cheese, bacon, and avocado mash - oh dear.. 

He passed the frialator and had an excellent idea. Why not grab a couple of fries as a snack for the task of finding the order number 767-770? But of course Evan knew that the fries, drowned in the cooking oil, can be a little bit hot. His mouth was already numb from eating the too-hot, just prepared fries during his working hours, the boiling oil just could not be that hot, right? But his hands were full! Although, he thought, he wasn't holding any menus in his mouth! 

 He double checked, there was no-one to witness his desperate scene with the fries. He leaned towards the boiler, tried to grab a french fry with his teeth - just don't loose the balance now...! 

From the pictures above we can see that the cooking oil was pretty hot.


So want to create the painful incident with the cooking oil or play Harvey Dent? Here you go.


Saturday, May 5, 2012

How to create The Two Face


Here is how to create pretty bad looking burn marks.


The usual equipment from up to down: Supra colors, the spatula, skin wax, wax/glue remover, fake blood, skin glue and the latex. All from Kryolan and Cinema Secrets.


Start with a brownish red supra color. Spread and tap it with sponge carelessly around the face. Don't forget the ear and the neck. 
Next open not-so-good smelling latex bottle and ask your makeup victim to stop breathing. Tap the latex (your friend is not allergic to latex, right?) lightly around the face and neck. Be careful with the eyes!

Take from kitchen closet a fistful of oat meal and press it on the face. If the latex is already a bit dried, you can use a bit of face glue for help.


Rip of some cosmetic paper and attach it with a face glue.

Let's make the smell worse by adding another layer of latex.

What is that smell reminding you again..? Yes, it's condoms. IN YOUR FACE!


 Or dog toys.


Add generously grey and a black supra color. Make it most dark around oat meal and cosmetic paper parts. They are the part, that has burned to worst. The cosmetic paper is also good to color for example with a black eyeshadow.


Now is time to create the painful looking mouth. Draw with a kajal pen the lines of the mouth incident and fill the inside, tapping gently, with a face glue.

Cut a good slice of skin wax and warm it a bit between your fingers. Keep it as a one piece.
Press the wax on top of the glue and start spreading the edges of it with your spatula. Spread the wax further than the glue.


Create the form of the teeth on top of the lip. Also shape some shred of gums and flesh. 

Add a light layer of latex with a makeup sponge.


Color the beauty with a pink eyeshadows. Add some bright red, specially to highlight the hanging gums and flesh.

Color the teeth with a white supra color. Create the teeth gaps with a black supra color.

Color the eye area with a black and dark grey eyeshadow. Shape the eye by adding more black on the inside corner of the eye. Color the inside eye lid with a cold red lip pencil.


Now if you already haven't cover your friends clothes, now is time to do it (yeah might have had better to do it during the oat meal, it's everywhere isn't it?)

Open your fake blood jar and pour some of it carefully to a little jar and add A LOT of it on the face, specially next to and on top of oat meal and cosmetic paper. Let it spread naturally, don't forget the ears (bloody ears! Cruel!) 


There you go, now freak the neighbors out and go to ask some plaster!